|
Back to Blog
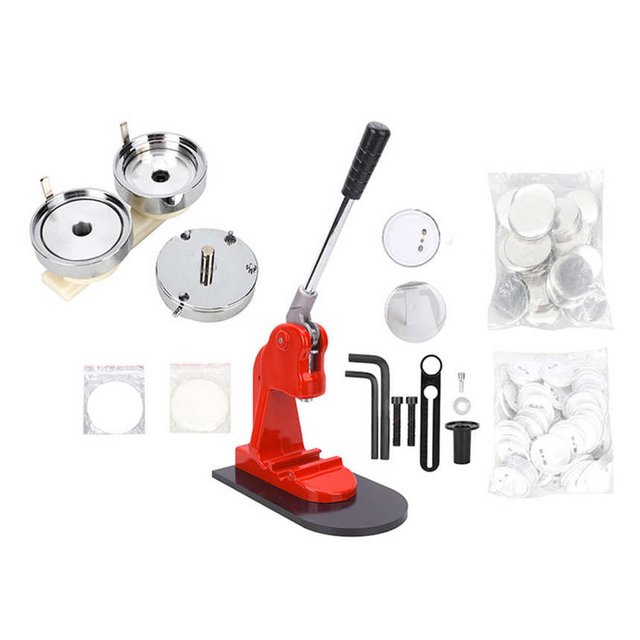
Making buttons may not sound to be an activity that is suitable for everyone, but you can certainly have fun doing it. It is a simple and easy machines that anyone can use, even your young children, with some direction from your parents. The button makers are ideal for making gifts for friends and family, creating namesakes for birthday celebrations or embellishing bags with your most loved quotes. ProcessThe procedure of creating a button in a button maker is usually different depending on the model however, the process is quite similar. They are largely hand-operated and simple to use. They do not require batteries or electricity. The machines are operated by your own physical strength. You don't need to possess a lot. Here are the basic steps that you need to follow when using an online button maker. Installation of the Button Maker Most button makers come built inside their boxes. This is particularly true if the size of the device you're using is small and portable. You might need to assemble the larger size button maker you've picked. For most of these machines, assembling means a simple process of screwing the machine into the base. It is possible to use your hands to do this normally in the first stage , then using the screwdriver that comes in the package. Next, put the dies in the button maker machine. Most of the time, one is on the bottom, and the other at the top. Gathering the Button Parts Most button makers include all of the parts that are required to make buttons. You can purchase 100 buttons and accessories and 1000 buttons. But all components are usually included. There are usually three parts of the button: a metal piece, a transparent piece and a pin back. These are always circular, and are available in a specific size, compatible with the machine. Printing the design This process requires you to print out the design you want to be used as a button badge, a bottle opener or keychain. To finish the job it is possible to use an ordinary printer using ordinary paper. Make use of a photo-editing program to design the logo or text you desire or something downloaded from the Internet and then use your printer to print the design as many times as you need, to make the required amount of buttons. The Design can be cut out You will need to print the design in the exact size of your button pin back, and then cut it out of the same size. If you put a circular border around the design it is possible to use an ordinary pair of scissors to cut the design out. A rotary cutter can make the task easier and much more accurate. A good rotary cutter is a good investment when you own a button-making business. It will cut off your buttons more quickly than you can use your hands. Make the various types of Buttons The next thing to do is to make the buttons using your button maker. Put the metal back into one of the dies on the bottom (the instruction manual will inform the die you should choose). The printed piece of paper follows, with the design facing upwards, with its back to the metal plate. The myler, or the transparent plastic piece of film goes next on top of the design. Each piece must be precisely aligned. Put the metal pin-back of the button into the second bottom die close to the die where you have inserted your design. Finalizing the Batch The same process applies whether you are making an easy pin-back button an inverse-back button, key chain or bottle opener. It's the back of the button that has to change but not the initial three parts. The same concept can be used to make batches of any kind of button by using the same machine. The most robust button makers can make 200-300 pieces in less than an hour. This is extremely helpful when your business relies on buttons. The first few ones might take longer, but once you get used to the process it'll take less than a few minutes to make an item.
0 Comments
Leave a Reply. |
 RSS Feed
